Ergänzend zum Artikel über das PSAppDeployToolkit, möchte ich hier die Einbindung des Frameworks in Ivanti Endpoint Manager (EPM) zusammenfassen.
1. Return codes
Ein Return code mapping anlegen
Das PSAppdeploy Toolkit (PSADT) verwendet eigene Return Codes. Damit diese von EPM richtig interpretiert (Failed oder Success) und die Fehlerbeschreibungen dargestellt werden, muss zuerst ein Return code template angelegt werden.
In der EPM-Console im Bereich der Distribution Packages findet man den “Return code template manager” für diese Konfiguration.
 EPM Console - Distribution packages - Return code template manager
Hier legt man ein neues Template an und pflegt die Return-Codes ein
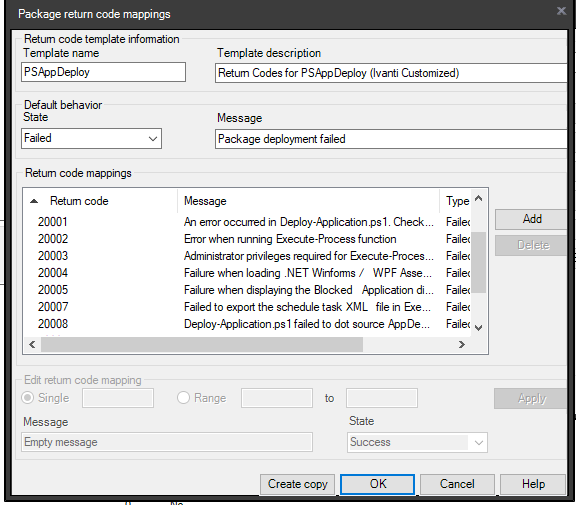
Add a new return code mapping
Return codes für Ivanti Endpoint Manager (EPM) anpassen
Hier kommt das große ACHTUNG! - Leider sind die Return codes des PSADT
nicht mit Ivanti EPM kompatibel:
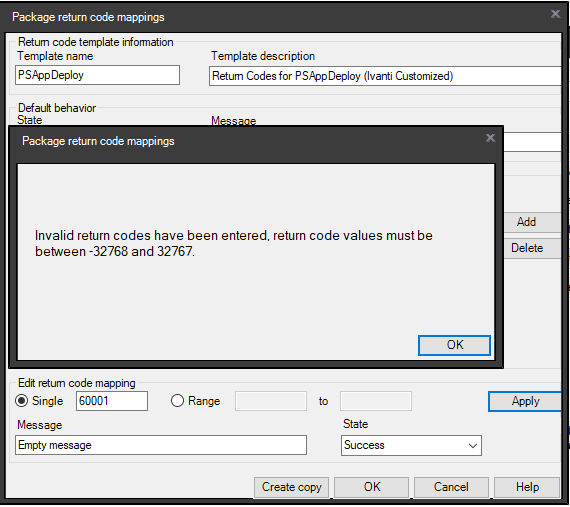
Returncodes müssen bei EPM zwischen -32768 und 32767 liegen
Darum müssen wir die Return codes (soweit im Script zugänglich) verändern. Leider gibt es aus Return codes die in der .exe einkompiliert sind oder anderweitig ausgegeben werden. Die Mühe diese Codes zu ändern habe ich mir nicht gemacht und es auch noch nicht gebraucht:
| Default Returncodes | EPM Edited Return Codes | Meaning |
|---|---|---|
| 60000 - 68999 | 20000 - 28999 | Reserved for built-in exit codes in Deploy-Application.ps1, Deploy-Application.exe, and AppDeployToolkitMain.ps1 |
| 69000 - 69999 | 69000 - 69999 | Recommended for user customized exit codes in Deploy-Application.ps1 |
| 70000 - 79999 | 70000 - 79999 | Recommended for user customized exit codes in AppDeployToolkitExtensions.ps1 |
| 60001 | 20001 | An error occurred in Deploy-Application.ps1. Check your script syntax use. |
| 60002 | 20002 | Error when running Execute-Process function |
| 60003 | 20003 | Administrator privileges required for Execute-ProcessAsUser function |
| 60004 | 20004 | Failure when loading .NET Winforms / WPF Assemblies |
| 60005 | 20005 | Failure when displaying the Blocked Application dialog |
| 60006 | 60006 | AllowSystemInteractionFallback option was not selected in the config XML file, so toolkit will not fall back to SYSTEM context with no interaction. |
| 60007 | 20007 | Failed to export the schedule task XML file in Execute-ProcessAsUser function |
| 60008 | 20008 | Deploy-Application.ps1 failed to dot source AppDeployToolkitMain.ps1 either because it could not be found or there was an error while it was being dot sourced. |
| 60009 | 20009 | The -UserName parameter in the Execute-ProcessAsUser function has a default value that is empty because no logged in users were detected when the toolkit was launched. |
| 60010 | 60010 | Deploy-Application.exe failed before PowerShell.exe process could be launched. |
| 60011 | 60011 | Deploy-Application.exe failed to execute the PowerShell.exe process. |
| 60012 | 20012 | A UI prompt timed out or the user opted to defer the installation. |
| 60013 | 20013 | If Execute-Process function captures an exit code out of range for int32 then return this custom exit code. |
Die Return codes habe ich in den hier beschriebenen Dateien vorgenommen. Alles dokumentiert durch Kommentare in den Dateien bzw. durch das Changelog von git (ein Versionierungssystem zu verwenden sei für jede Skripting-Arbeit empfohlen!)
Deploy-Application.ps1
60001 -> 20001

60002 -> 20002

AppDeployToolkitMain.ps1
60003 -> 20003

60004 -> 20004
60005 -> 20005
60007 -> 20007
60008 -> 20008
60009 -> 20009
60012 -> 20012
60013 -> 20013
EPM Return code template

Als fertiger Download zum Import:
2. Ein Distribution package mit PSADT erstellen
Auf seinem EPM-Core-Server Share legt man nun einen Software-Ordner wie im Beispiel aus dem anderen Artikel beschrieben ab. z.B.: http://coreser.fqdn/Software/Cisco/Jabber/Version/
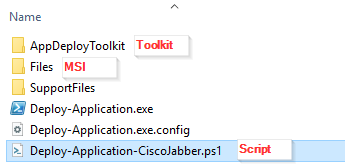
Wie im PSAppDeployToolkit erwähnt nutze ich in der Regel die Deploy-Application.exe
Darum erstellen wir das neue package vom Typ Executable package und verlinken die Deploy-Application.exe als Primary package file. Ob dabei UNC oder http genutzt wird, ist vielleicht mal einen separaten Artikel wert. (Es funktioniert natürlich beides!)
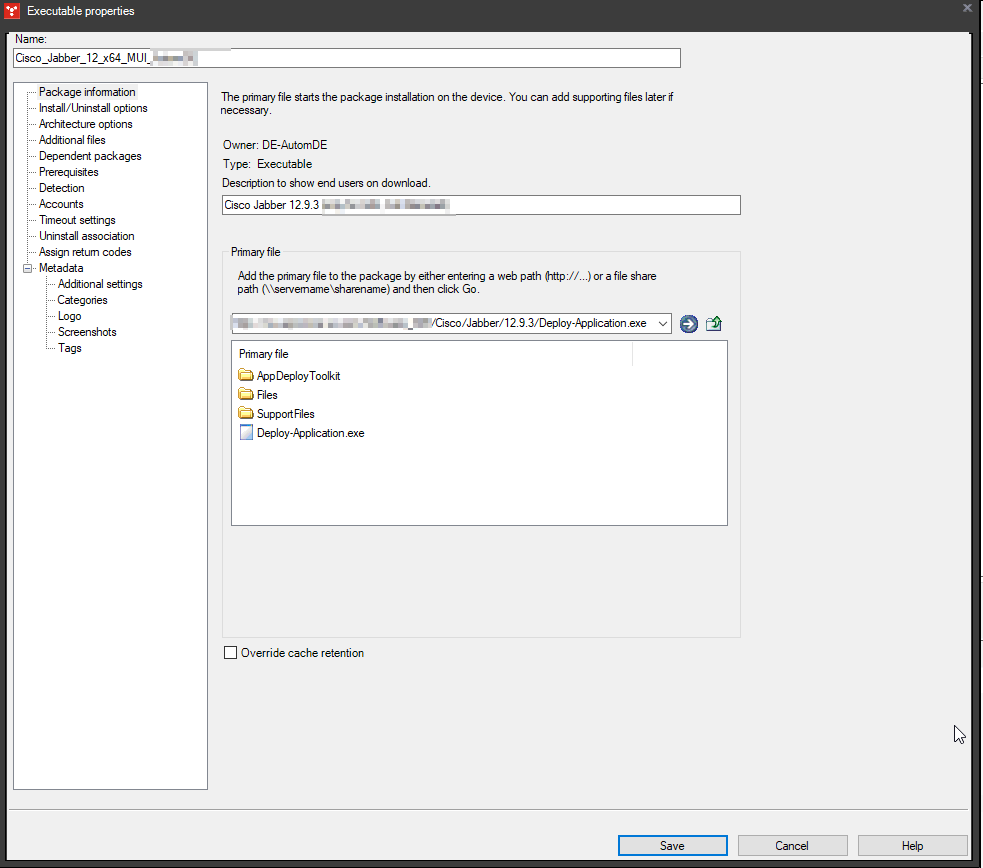 Executable package - Package information
Da das .ps1 im Beispiel umbenannt wurde (Default = Deploy-Application.ps1) muss es hier explizit angegeben werden.
Die restlichen Schalter kann man im verlinkten Manual nachlesen.
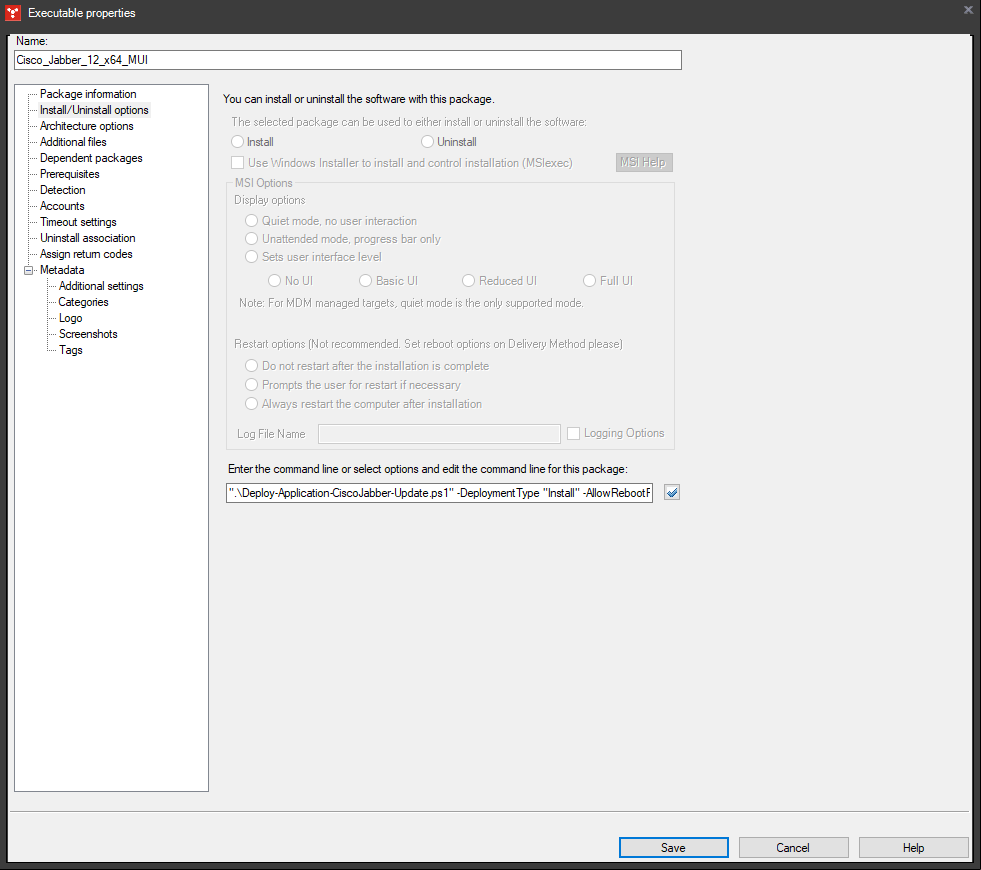 Executable package - Install/Uninstall options
".\Deploy-Application-CiscoJabber-Update.ps1" -DeploymentType "Install" -AllowRebootPassThru
Ich empfehle immer als 64-bit auszuführen. Da viele der gängigen Powershell commandlets eher unter dieser bitness zu finden sind. Ob PSADT auch mit 32-bit gut funktioniert habe ich nicht getestet.
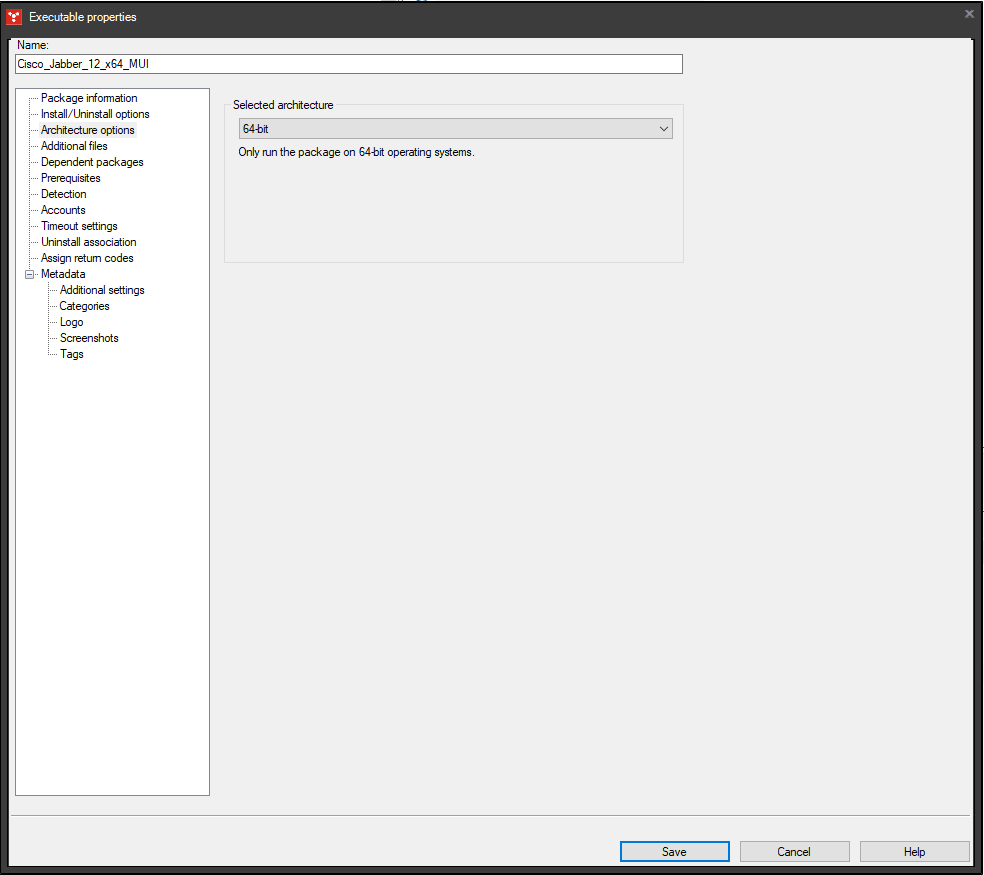 Executable package - Architecture options
Wichtig! - Hier verlinkt man nun alle Dateien des Toolkits und die Install-sourcen.
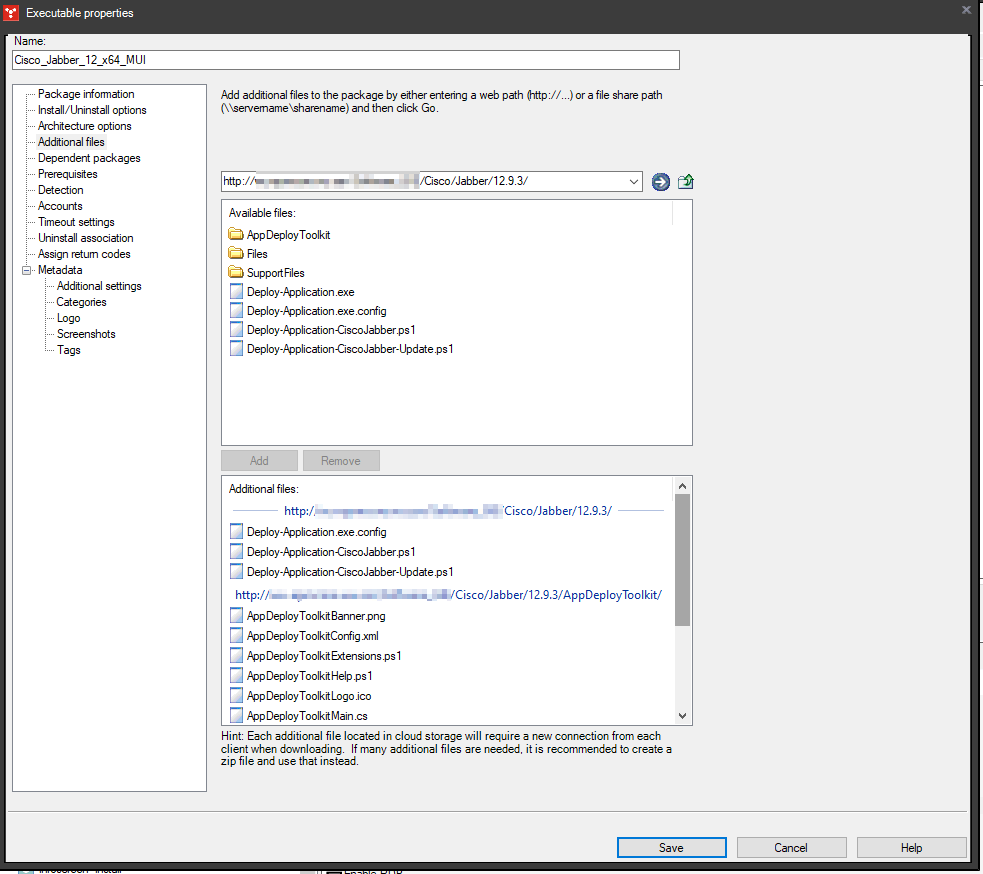 Executable package - Additional files
Empfehlung - Immer einen timeout nutzen! Sollte bei der Installation irgendetwas hängen bleiben, läuft der Task sonst für immer! Das blockt viele Funktionen des EPM-Agents!
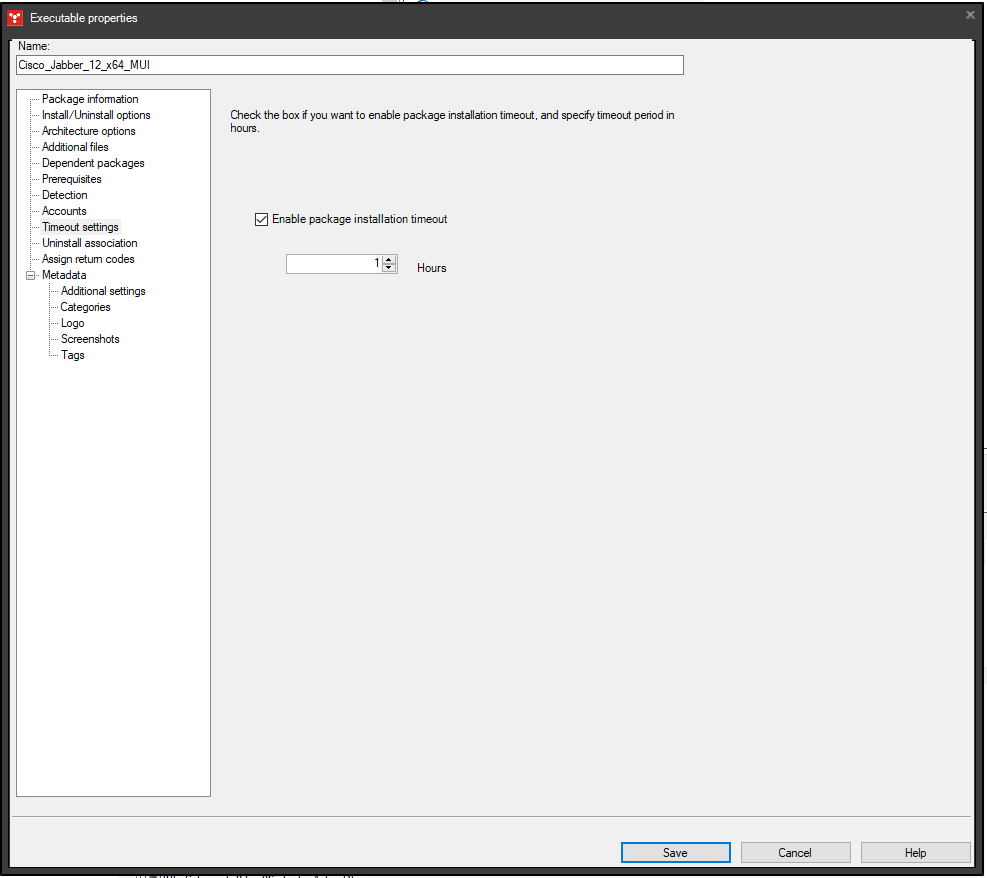 Executable package - Timeout settings
Und endlich können wir unser Return code template zuweisen.
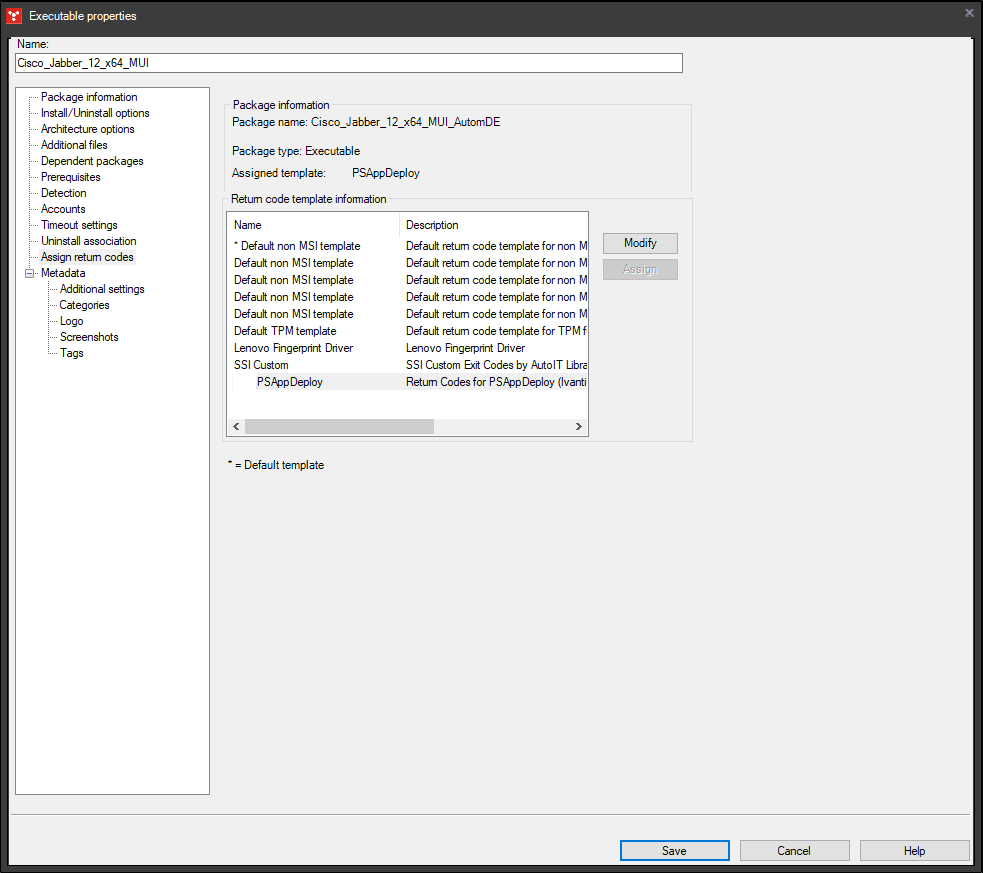 Executable package - Agent return code